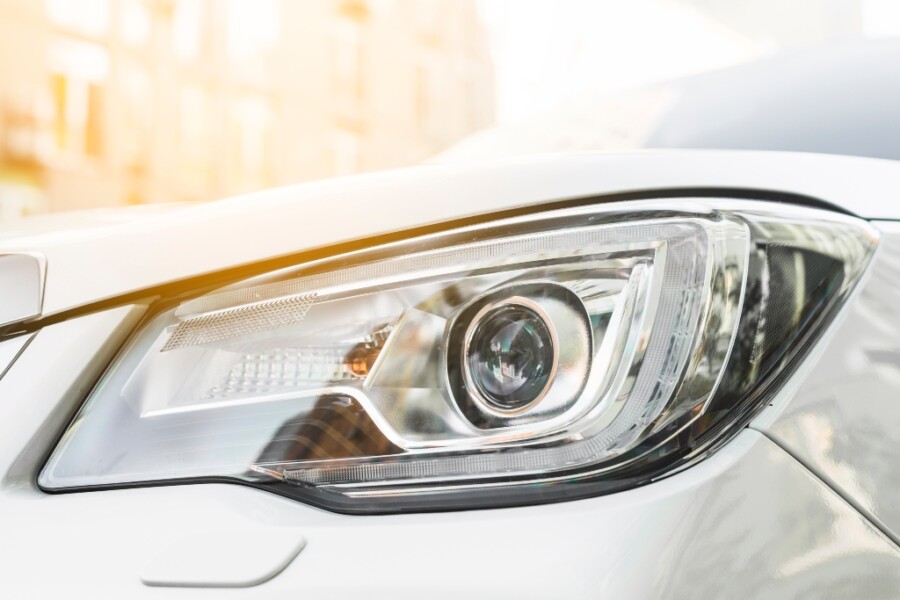
Las razones para querer tintar los cristales del coche pueden ser diversas y a gusto del usuario en lo que respecta al porcentaje de transparencia. Esta implementación puede deberse a preferir tintar lunas con fines estéticos para darle a tu coche un aspecto deportivo y moderno; porque necesitas un recambio si las láminas antiguas ya se encuentran deterioradas; o incluso, puede deberse a cuestiones de cuidado personal y de seguridad.
Respecto a lo anterior, conviene hacer hincapié que en cuanto a cuidado se refiere, estas láminas son capaces de absorber hasta el 99% de los rayos ultravioletas, además de reducir considerablemente la temperatura ambiente al interior durante los meses más cálidos del año. Por otro lado, la seguridad guarda relación con tener más privacidad y evitar que objetos de valor sean vistos desde afuera. Así, los cristales laminados son tremendamente útiles para eludir situaciones de robo.
Ahora bien, antes de contar cómo es el proceso de tintar lunas, conviene tener en cuenta algunos aspectos importantes sobre la aplicación en los cristales. Primero de todo y de acuerdo con la actual legislación, no es posible el tintado de parabrisas ni de las ventanillas laterales tanto en el lado del conductor como del copiloto, puesto que la ley exige que exista una visión transparente del conductor que abarque un ángulo de 180°.
Paso a paso en el tintado
Conviene aclarar que los pasos mencionados a continuación corresponden al caso hipotético en el que tintar los cristales del coche sea necesario debido a que las láminas se hallen desgastadas por el accionar del tiempo. Veamos.
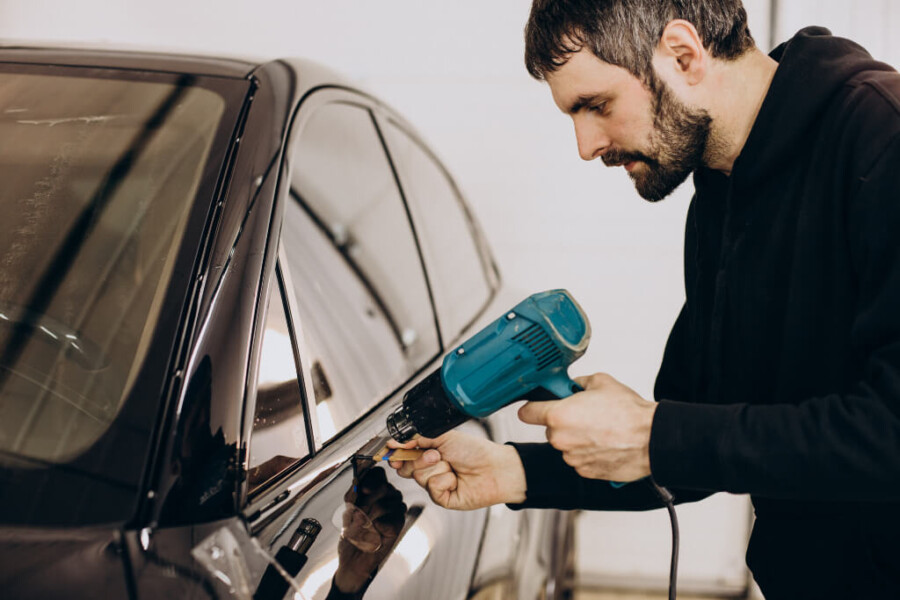
Primeramente, se hace una limpieza general del vidrio por dentro y por fuera. Luego, con un decapador ―que consiste en una pistola que expulsa aire caliente a presión― se va soltando la película poco a poco y con mucho cuidado para no estropear los cristales.
El siguiente paso será fabricar las nuevas plantillas. En este momento se pone la capa siempre desde el exterior de las ventanas. El tamaño de la película debe ser mayor al del vidrio, de modo que sobre material para poder cortarlo acorde a la medida exacta del vidrio.
Luego, se procede a sacar la lámina que había sido moldeada desde afuera. Enseguida se lubrica la lámina por una de sus caras para que permita el desplazamiento al momento de pegarlo a la parte interior del vidrio. Es muy importante que el lado interior del vidrio quede pulcro, de lo contrario, pelusas o partículas de polvo pueden quedar encapsuladas entre la película y el cristal.
El último paso en el proceso de tintar lunas consiste en sobreponer la lámina sobre el cristal interior, donde se deben estirar las rugosidades que fueran quedando con una espátula adecuada. También es importante que la película quede bien insertada en medio de las ranuras de las puertas.
¡Una vez completado el proceso ya podrás disfrutar del tintado nuevo de tu coche! Cabe recalcar que si acudes al taller de lunas para tintar cristales coche por primera vez es recomendable que te dejes asesorar por los profesionales del área, como los de nuestro equipo especializado de Ralarsa. Así conseguirás la mejor opción de acuerdo con las características singulares de tu coche.
En Ralarsa somos transparentes
En nuestros más de 250 talleres repartidos en España, ofrecemos servicios de tintado que implica más de 20 tonalidades. Sin embargo, debido a la legislación, no se llega a un laminado del todo oscuro, de lo contrario, el coche no sería apto para pasar los controles de la ITV. De hacerse de manera irregular, el conductor arriesga una multa que puede llegar hasta los 150 euros.
En cuanto a lo anterior, es importante que las láminas tengan la homologación correspondiente. Este certificado, expedido por el fabricante, demuestra que las láminas cumplen con la normativa legal para que tu coche pueda circular sin problema. Estos requisitos consisten en que las láminas hayan superado con éxito la verificación de resistencia al fuego, sean capaces de aguantar al cristal en caso de accidente, entre otras medidas de seguridad.
No dejes de agendar tu cita para tintar lunas en tu centro Ralarsa más cercano. Nuestros profesionales conseguirán resultados de alta calidad donde tu coche lucirá renovado y disfrutarás de una visión fresca hacia el exterior.